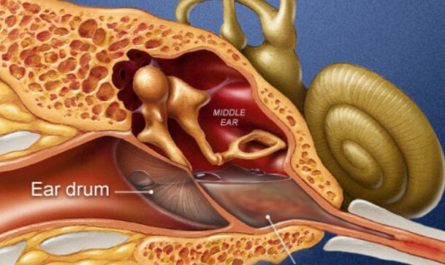
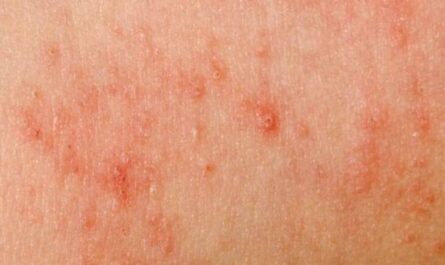
Have you ever experienced the uncomfortable sensation of water trapped in your ear after swimming, showering, or even sweating heavily? It’s a common problem that can lead to muffled hearing, irritation, and even infection if left untreated. Fortunately, there are several natural remedies you can try at home to safely and effectively remove water from your ear. In this article, we’ll explore 15 proven methods to help you find relief and prevent future occurrences.
Symptoms of Water in Ear
While getting water trapped inside the ear is not much of a problem, it gets serious when it gets infected. Many signs and symptoms sometimes accompany the swimmer’s ear. Some of these include:
- Redness and swelling inside the ear
- Inability to hear properly
- A feeling of fullness inside the ear
- A tickling sensation
- Discomfort and pain
- Pus or fluid drainage from the ear
15 Best Home Remedies for Water in Ear
1. Gravity: Your First Line of Defense
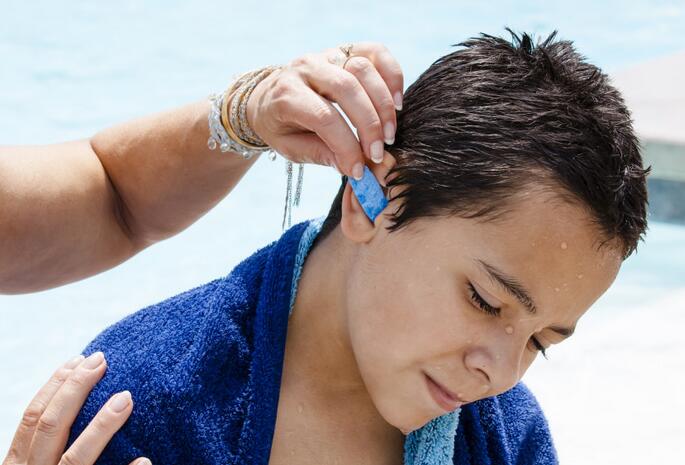
One of the simplest and most effective ways to remove water from your ear is to harness the power of gravity. Here’s how:
- Tilt your head sideways, with the affected ear facing downward.
- Gently pull on your earlobe to help straighten the ear canal and facilitate water drainage.
- Hold this position for several minutes, allowing the water to naturally flow out of your ear.
If gravity alone doesn’t do the trick, don’t worry. We have plenty more remedies to try!
2. The Valsalva Maneuver: Equalizing Pressure
The Valsalva maneuver is a technique that can help equalize pressure in your ears and potentially dislodge trapped water. Here’s how to perform it safely:
- Take a deep breath and close your mouth.
- Pinch your nostrils shut with your fingers.
- Gently but firmly blow out through your nose as if you were trying to blow your nose.
You should feel a slight popping sensation in your ears, indicating that the pressure has equalized. This may help the water drain out of your ear.
Caution: Be gentle when performing the Valsalva maneuver, as blowing too hard can cause discomfort or damage to your ears.
3. The Warm Compress Method
Applying a warm compress to your ear can help open up the Eustachian tubes, promoting better drainage. Here’s how to do it:
- Soak a clean cloth in warm water, making sure it’s not too hot to avoid burning your skin.
- Wring out the excess water so the cloth is damp but not dripping.
- Hold the warm compress against your ear for 3-5 minutes, allowing the heat to penetrate.
- Tilt your head sideways to let the water drain out.
Repeat this process a few times a day until the water is gone.
4. The Hairdryer Technique
Believe it or not, your hairdryer can be a useful tool for removing water from your ear. The key is to use it on the lowest heat and power settings. Here’s how:
- Set your hairdryer to the lowest heat and power settings.
- Hold the dryer about a foot away from your ear, aiming it at the ear canal.
- Turn your head sideways so the affected ear is facing downward.
- Move the hairdryer back and forth over your ear for about 30 seconds.
The gentle heat and airflow can help evaporate the trapped water and promote drainage.
Caution: Never use high heat settings or hold the hairdryer too close to your ear, as this can cause burns or damage to your ear canal.
5. Hydrogen Peroxide: A Gentle Cleanser
Hydrogen peroxide is a mild antiseptic that can help dissolve earwax and remove trapped water. Here’s how to use it safely:
- Lie on your side with the affected ear facing upward.
- Fill a dropper with a 3% hydrogen peroxide solution.
- Gently squeeze a few drops into your ear canal.
- Stay in this position for 5 minutes, allowing the solution to bubble and work its magic.
- Sit up and tilt your head to the opposite side to let the solution and water drain out.
Note: If you have a history of ear infections or a perforated eardrum, consult your doctor before using hydrogen peroxide.
6. Olive Oil: A Natural Lubricant
Olive oil can help soften earwax and lubricate your ear canal, making it easier for water to drain out. Here’s how to apply it:
- Warm a small amount of olive oil to body temperature by rubbing it between your palms.
- Lie on your side with the affected ear facing upward.
- Using a dropper, place a few drops of the warm oil into your ear canal.
- Stay in this position for 5-10 minutes to allow the oil to work.
- Sit up and tilt your head to the opposite side to let the oil and water drain out.
Caution: If you suspect you have a ruptured eardrum, avoid putting any substances, including olive oil, into your ear.
7. Garlic: A Natural Antimicrobial
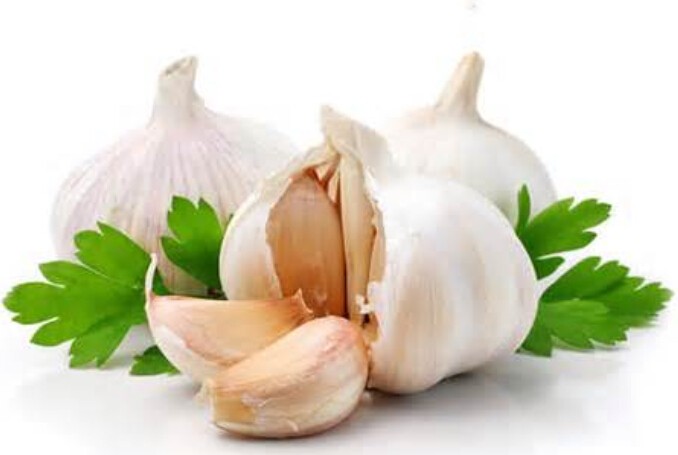
Garlic has natural antimicrobial properties that can help prevent ear infections caused by trapped water. Here’s a simple garlic-infused oil remedy:
- Crush a clove of garlic and mix it with a tablespoon of warm olive oil.
- Let the mixture sit for a few minutes to allow the garlic to infuse into the oil.
- Strain the mixture to remove the garlic pieces.
- Using a dropper, place a few drops of the garlic-infused oil into your ear canal.
- Stay in this position for 5 minutes, then tilt your head to drain the oil and water.
Note: If you have sensitive skin, test the garlic oil on a small patch of skin first to ensure you don’t have an allergic reaction.
8. Steam Inhalation: Opening Up the Eustachian Tubes
Inhaling steam can help open up your Eustachian tubes, promoting better drainage of trapped water. Here’s how to do it:
- Boil a pot of water and remove it from the heat.
- Place a towel over your head and lean over the pot, creating a tent-like enclosure.
- Inhale the steam for 5-10 minutes, taking deep breaths through your nose.
- Tilt your head sideways to help the water drain out of your ear.
Caution: Be careful not to get too close to the hot water to avoid burns.
9. Yawning and Swallowing: Equalizing Pressure
Yawning and swallowing can help equalize pressure in your ears and potentially dislodge trapped water. Here’s how to do it:
- Take a deep breath and hold it for a few seconds.
- Yawn widely, feeling the stretch in your jaw and ears.
- Swallow hard, as if you were trying to pop your ears on an airplane.
Repeat this process several times until you feel the water drain out of your ear.
10. Chewing Gum: Stimulating the Eustachian Tubes
Chewing gum can help stimulate the muscles that open your Eustachian tubes, promoting better drainage. Here’s how to do it:
- Choose a sugar-free gum to avoid potential tooth decay.
- Chew the gum vigorously for several minutes, focusing on the side of the affected ear.
- Tilt your head sideways to help the water drain out.
Note: If you have a history of temporomandibular joint (TMJ) disorders, chewing gum may not be the best option for you.
11. Alcohol and Vinegar Solution: A Drying Agent
A mixture of rubbing alcohol and white vinegar can help dry out trapped water and prevent bacterial growth. Here’s how to make and use the solution:
- Mix equal parts rubbing alcohol and white vinegar in a small bowl.
- Using a dropper, place a few drops of the solution into your ear canal.
- Stay in this position for 30 seconds, then tilt your head to drain the solution and water.
Caution: If you have a perforated eardrum or a history of ear infections, avoid using this solution without consulting your doctor first.
12. Warm Salt Water: A Gentle Rinse
A warm salt water rinse can help flush out trapped water and debris from your ear canal. Here’s how to make and use the solution:
- Mix 1/2 teaspoon of salt into 1/2 cup of warm water, stirring until the salt dissolves.
- Fill a dropper with the warm salt water solution.
- Tilt your head sideways with the affected ear facing upward.
- Gently squeeze the solution into your ear canal.
- Stay in this position for 5 minutes, then tilt your head to drain the solution and water.
Note: Make sure the water is not too hot to avoid burning your ear canal.
13. Onion Juice: A Natural Antibacterial
Onion juice contains natural antibacterial properties that can help prevent ear infections caused by trapped water. Here’s how to extract and use onion juice:
- Grate a small onion and squeeze the juice into a bowl.
- Strain the juice to remove any pulp or debris.
- Using a dropper, place a few drops of the onion juice into your ear canal.
- Stay in this position for 5 minutes, then tilt your head to drain the juice and water.
Caution: If you have sensitive skin, test the onion juice on a small patch of skin first to ensure you don’t have an allergic reaction.
14. Mustard Oil: A Warming Agent
Mustard oil has warming properties that can help open up your Eustachian tubes and promote better drainage. Here’s how to use it:
- Warm a small amount of mustard oil to body temperature by rubbing it between your palms.
- Using a dropper, place a few drops of the warm oil into your ear canal.
- Stay in this position for 5 minutes, then tilt your head to drain the oil and water.
Note: Make sure the oil is not too hot to avoid burning your ear canal.
15. Gargling: Stimulating the Eustachian Tubes
Gargling can help stimulate the muscles that open your Eustachian tubes, promoting better drainage. Here’s how to do it:
- Mix 1/2 teaspoon of salt into a glass of warm water, stirring until the salt dissolves.
- Take a mouthful of the salt water and tilt your head back slightly.
- Gargle vigorously for 30 seconds, focusing on the back of your throat.
- Spit out the water and repeat the process several times.
Note: Make sure not to swallow the salt water, as it can cause an upset stomach.
How to Prevent Water in Ear?
Experiencing water trapped in your ear can be uncomfortable, but there are steps you can take to prevent it from happening in the first place. Here are some helpful tips to keep water out of your ears:
- Use earplugs or swim caps: If you are prone to getting water in your ears while swimming or bathing, consider using earplugs or wearing a swim cap. This can help to prevent water from entering the ear canal.
- Tilt your head and shake: After swimming or showering, tilt your head to the side and gently shake it to encourage any excess water to drain out naturally.
- Dry your ears thoroughly: Use a soft towel or a hairdryer on the lowest setting to dry your ears thoroughly after swimming or bathing. Gently tilt your head to the side and aim the warm air towards your ear to evaporate any remaining moisture.
- Avoid inserting objects in your ears: It’s important to refrain from inserting cotton swabs, bobby pins, or any other objects into your ears to clean them. This can push wax and debris further into the ear canal, increasing the risk of water getting trapped.
- Use a swimmer’s ear solution: If you frequently experience water in your ears, you can use over-the-counter swimmer’s ear drops after swimming or bathing. These drops contain a drying agent that helps to evaporate any trapped water.
- Keep your ears clean: Regularly clean your ears with a gentle, warm washcloth. Avoid using cotton swabs, as they can push wax and debris deeper into the ear canal and increase the risk of water getting trapped.
- Dry your ears after water activities: After participating in water activities such as swimming or water sports, make sure to dry your ears thoroughly. Tilt your head to the side and gently tug on your earlobe to encourage any water to drain out.
- Avoid swimming in dirty or contaminated water: Swimming in dirty or contaminated water increases the risk of infection and can lead to water getting trapped in your ears. Choose swimming locations with clean and well-maintained water.
By following these prevention tips, you can reduce the chances of water getting trapped in your ears and enjoy water activities without discomfort.
When to See the Doctor?
In most cases, water in the ear gets drained out. However, if the symptoms discussed above don’t go away even after a couple of days, it’s time to see a doctor.
See a doctor if you suffer from these symptoms:
- Experience persistent pain inside the ear
- You feel inflammation or swelling
- You have difficulty hearing, or there is a ringing sound in the ear
- The water is still trapped inside the ear after 2 or 3 days
- No other remedies seem to work

