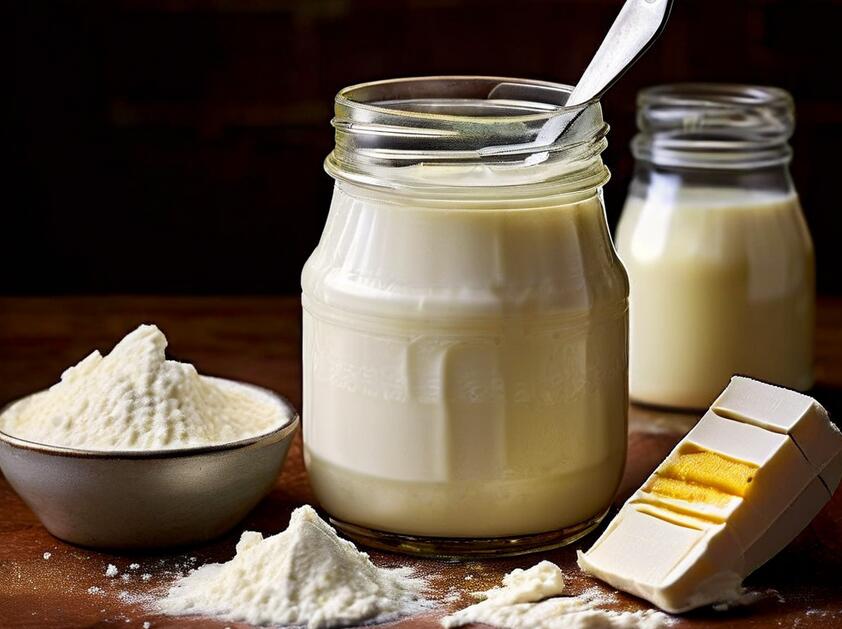
Buttermilk is a tangy, slightly thickened dairy product that’s a staple ingredient in many recipes. While you can purchase buttermilk at most grocery stores, making your buttermilk at home is incredibly easy, cost-effective, and rewarding. In addition, you can also have complete control over the ingredients, ensuring no unwanted preservatives or additives. This article will provide a simple step-by-step guide about how to make buttermilk at Home from regular milk.
What is Buttermilk?
Before we dive into the process of making buttermilk, let’s take a moment to understand what it is and how it differs from regular milk. Traditionally, buttermilk was the liquid left behind after churning butter from cream. This liquid had a tangy, slightly sour flavor and a thicker consistency than regular milk, thanks to the natural fermentation process that occurred during churning.
Today, most commercial buttermilk is made by adding lactic acid bacteria to low-fat or skim milk, which ferments the milk and gives it a tangy flavor and thicker texture. This cultured buttermilk is what you’ll typically find in grocery stores and what most recipes call for.
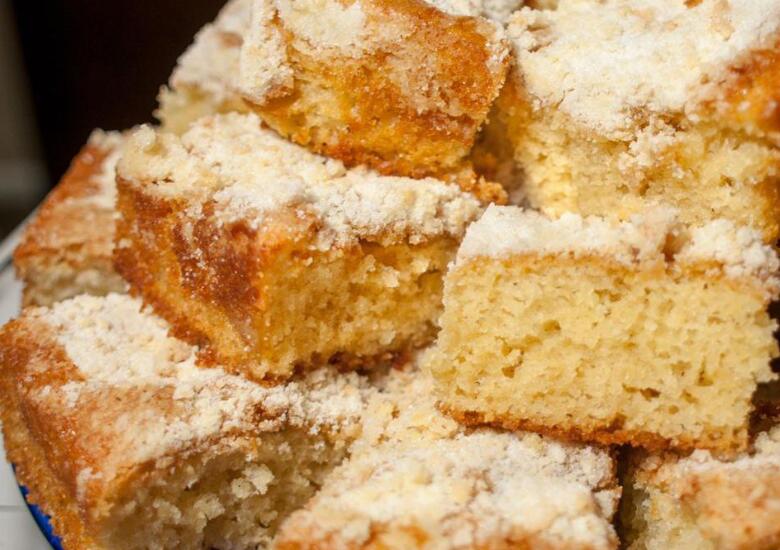
So why use buttermilk in recipes? The acidity of buttermilk helps to tenderize baked goods, giving them a softer, more delicate crumb. It also adds a subtle tangy flavor that complements a wide range of dishes, from biscuits and pancakes to salad dressings and marinades.
But buttermilk isn’t just delicious – it’s also good for you! The fermentation process that gives buttermilk its signature tang also adds beneficial probiotics to the milk. This can help to support digestive health and boost immunity. In addition, Buttermilk is also a good source of calcium, vitamin B12, and potassium.
How to Make Buttermilk from Milk Step by Step
Ingredients Needed
To make your own buttermilk at home, you’ll need just two simple ingredients:
- Milk: You can use any type of milk you have on hand, but whole milk or 2% milk will give you the best results. Avoid using skim milk, as it may not thicken as well.
- Acid: You’ll need an acidic ingredient to ferment the milk and give it that tangy flavor. The most common options are lemon juice or white vinegar, but you can also use apple cider vinegar or cream of tartar.
That’s it! With just these two ingredients, you can make your own buttermilk in a matter of minutes.
When choosing your milk, it’s important to consider the fat content. Whole milk will give you the richest, creamiest buttermilk, while 2% milk will be slightly lighter but still delicious.
If you’re watching your fat intake, you can use 1% or skim milk, but keep in mind that the resulting buttermilk may be thinner and less creamy than versions made with higher-fat milk.
As for your acidic ingredient, lemon juice and white vinegar are the most common choices, and for good reason – they’re affordable, widely available, and easy to use.
However, if you’re looking for a slightly different flavor profile, you can experiment with other acidic ingredients like apple cider vinegar. This will add a fruity, slightly sweet note to your buttermilk, or cream of tartar, which has a more neutral flavor.
Methods for Making Buttermilk
There are a few different methods for making buttermilk at home, each with its own advantages and variations. Here are three of the most popular:
1. Lemon Juice or Vinegar Method
This is the quickest and easiest method for making buttermilk at home. Here’s how to do it:
- Pour 1 cup of milk into a bowl or measuring cup.
- Add 1 tablespoon of lemon juice or white vinegar to the milk.
- Stir the mixture gently and let it sit for 5-10 minutes until it begins to curdle and thicken.
- Use the buttermilk immediately, or store it in the refrigerator for up to a week.
This method works because the acid in the lemon juice or vinegar reacts with the proteins in the milk, causing it to curdle and thicken. The resulting mixture may not be as thick as commercial buttermilk, but it will have a similar tangy flavor and can be used in most recipes that call for buttermilk.
One of the benefits of this method is that it’s incredibly quick and easy – you can make buttermilk in just a few minutes with ingredients you likely already have on hand. It’s also very customizable – if you prefer a tangier flavor, you can add a bit more lemon juice or vinegar, or if you like a milder taste, you can use a bit less.
However, there are a few downsides to this method. Because the acid is added directly to the milk. The curdling process happens very quickly, which can result in a slightly grainy or lumpy texture. Additionally, the flavor of the lemon juice or vinegar can be quite strong, which may not be ideal for all recipes.
2. Cream of Tartar Method
If you don’t have lemon juice or vinegar on hand, you can use cream of tartar to make buttermilk instead. Here’s how:
- Pour 1 cup of milk into a bowl or measuring cup.
- Add 1 3/4 teaspoon of cream of tartar to the milk.
- Stir the mixture gently and let it sit for 5-10 minutes until it begins to curdle and thicken.
- Use the buttermilk immediately, or store it in the refrigerator for up to a week.
Cream of tartar is an acidic powder that is often used in baking to help stabilize egg whites and add tang to recipes. When mixed with milk, it creates a reaction similar to the lemon juice or vinegar method, resulting in a tangy, slightly thickened buttermilk substitute.
One of the benefits of using cream of tartar is that it has a more neutral flavor than lemon juice or vinegar, which means it won’t overpower the other flavors in your recipe. It also tends to create a smoother, less grainy texture than the lemon juice or vinegar method.
However, cream of tartar can be a bit more expensive and harder to find than lemon juice or vinegar, so it may not be the most convenient option for everyone. Additionally, it can be a bit harder to mix into the milk evenly. This can result in clumps if you’re not careful.
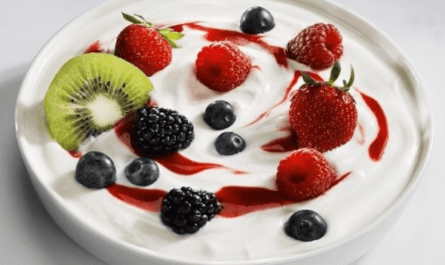
3. Yogurt Method
If you have plain yogurt on hand, you can use it to make a thicker, creamier version of buttermilk. Here’s how:
- In a bowl or measuring cup, mix together 3/4 cup of plain yogurt and 1/4 cup of milk.
- Stir the mixture until it is smooth and well combined.
- Use the buttermilk immediately, or store it in the refrigerator for up to a week.
The yogurt in this mixture adds extra thickness and body to the buttermilk, making it a good choice for recipes that benefit from a creamier texture, like pancakes or biscuits. The tangy flavor of the yogurt also adds an extra depth of flavor to the buttermilk.
One of the benefits of using yogurt to make buttermilk is that it creates a thicker, creamier texture than the other methods. This can be especially useful in recipes where the texture of the buttermilk is important.
However, using yogurt to make buttermilk does require a bit more planning ahead. It can also be a bit more expensive than using lemon juice or vinegar, depending on the cost of yogurt in your area.
Variations and Substitutions
While the basic recipe for homemade buttermilk is simple, there are plenty of ways to customize it to your liking. Here are a few ideas:
- Use different types of milk: While whole or 2% milk will give you the best results, you can also use plant-based milk like almond, soy, or coconut milk for a dairy-free version. Keep in mind that the flavor and texture may be slightly different than traditional buttermilk.
- Adjust the acidity: If you prefer a tangier flavor, you can increase the amount of lemon juice, vinegar, or cream of tartar in your mixture. Start with small increments and taste as you go until you find the perfect balance for your taste buds.
- Add herbs or spices: For a savory twist, try stirring in chopped fresh herbs like chives, dill, or parsley, or add a pinch of spices like garlic powder, onion powder, or paprika. These additions can take your buttermilk to the next level and add extra flavor to your recipes.
- Make it sweet: While buttermilk is typically used in savory recipes, you can also make a sweet version by stirring in a little honey, maple syrup, or vanilla extract. This can be a delicious addition to pancakes, waffles, or baked goods.
- Use it as a marinade: Buttermilk is a great marinade for meat, especially chicken or pork. The acidity in the buttermilk helps to tenderize the meat and add flavor, while the thick texture helps the marinade cling to the surface of the meat.
- Make a buttermilk substitute: If you don’t have milk on hand, you can make a buttermilk substitute using other dairy products like sour cream or plain yogurt. Simply mix equal parts sour cream or yogurt with water or milk until you reach the desired consistency.
How to Storing Homemade Buttermilk?
Once you’ve made your homemade buttermilk, it’s important to store it properly to ensure maximum freshness and longevity. Here are some tips for storing buttermilk:
- Refrigerator Life: Homemade buttermilk will be kept in the refrigerator for up to 2 weeks when stored in an airtight container. However, it’s best to use it within the first week for optimal freshness and flavor.
- Freezing Buttermilk: If you don’t plan on using your buttermilk within 2 weeks, you can freeze it for later use. Pour the buttermilk into an airtight container or freezer-safe bag, leaving some room for expansion, and freeze for up to 3 months. Thaw frozen buttermilk in the refrigerator overnight before using.
- Signs of Spoilage: Like regular milk, buttermilk can spoil over time. Watch out for signs of spoilage like an off smell, curdled texture, or mold growth. If your buttermilk shows any of these signs, it’s best to discard it.
- Shaking Before Use: Buttermilk may separate slightly during storage, so be sure to give it a good shake or stir before using to reincorporate any solids that have settled.
Proper storage is key to ensuring your homemade buttermilk stays fresh and flavorful for as long as possible.
Troubleshooting
While making buttermilk from milk is generally a straightforward process, there are a few potential issues you may encounter:
- Milk Didn’t Curdle Properly: If your milk didn’t curdle after adding the acid, it could be due to using ultra-pasteurized milk or plant-based milk that doesn’t curdle well. Try using a different type of milk or adding a bit more acid. You can also let the mixture sit for a longer period to encourage curdling.
- Buttermilk is Too Thick or Thin: If your buttermilk is too thick, add a splash of regular milk to thin it out. If it’s too thin, let it sit for a bit longer to thicken up, or add a touch more acid.
- Adjusting Tartness Level: If your buttermilk isn’t tangy enough, add a bit more lemon juice or vinegar to taste. If it’s too tangy, you can balance it out by adding a pinch of baking soda or a splash of regular milk.
- Separation Issues: Buttermilk may separate slightly during storage, with the solids settling at the bottom. Simply give it a good shake or stir before using to reincorporate the solids.
- Plant-Based Milk Challenges: Plant-based milk can be trickier to curdle than dairy milk. If you’re using plant-based milk and it’s not curdling properly, try adding a bit more acid or letting it sit longer. You can also experiment with different types of plant-based milk to find one that curdles more effectively.
With a little practice and adjustment, you’ll be able to consistently make perfect homemade buttermilk every time, regardless of the type of milk you’re using.
Conclusion
Making buttermilk at home from regular milk is an easy, cost-effective, and rewarding process. By following the simple steps outlined in this guide, you’ll always have delicious buttermilk on hand for all your baking and cooking needs.
So why not give it a try? Experiment with different types of milk, and adjust the tartness to your liking. You can also explore the many ways you can incorporate homemade buttermilk into your favorite recipes. Happy buttermilk-making!