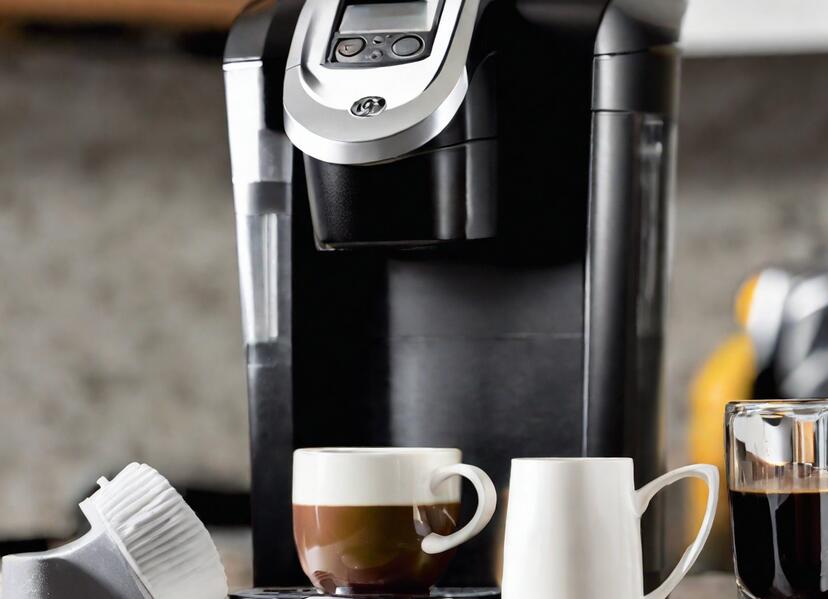
Keeping your Keurig coffee maker clean is vital for getting the most out of your machine. Over time, hard water minerals, old coffee oils, mold, and grounds accumulate inside causing slower brew times, and off-tastes. In some cases, it may even break your Keurig if left unchecked. Vinegar is a safe, natural, non-toxic cleaning solution that’s highly effective at dissolving mineral buildup, removing residues, and sanitizing the machine’s interior. This article will provide a step-by-step guide about how to clean a Keurig coffee maker with vinegar.
Signs Your Keurig Needs Descaling
Don’t hold off until you have a serious limescale issue or mold growing inside your machine. Be proactive and look out for these subtle signs it’s time to clean your Keurig coffee maker with vinegar:
- Brew time is slower than usual
- Coffee comes out unexpectedly weak or cool
- Spitting or uneven brew streams
- Grounds stick to pod holder needles
- Mineral deposits or odd tastes
- Visible staining inside the machine
- Mold, mildew, or funky smells
The moment you notice these small performance changes in your Keurig, it likely needs a thorough descaling.
Why Choose Vinegar to Clean Keurig Machines
White distilled vinegar has long been the #1 recommended cleaning agent by coffee machine manufacturers like Keurig and cleaning experts. But why is vinegar so popular specifically for descaling single-serve coffee makers compared to other options on the market? Here are the top reasons vinegar is the clear winner:
1. Safe Acid Dissolves Mineral Buildup
The acetic acid in distilled white vinegar is strong enough to break down limescale and hard water deposits that accumulate in Keurigs from repeated use, yet gentle enough not to damage plastic components like other descaling chemicals can over time.
Water hardness varies across regions, but these invisible mineral particles eventually clog tubes and affect water temperature and flow rate which alters brewing quality. Vinegar dissolves this tough calcium and magnesium buildup to keep your Keurig running smoothly for years.
2. Eliminates Stale Coffee Oils and Residues
On top of the hard water scale, vinegar also wipes away stubborn oily coffee residues that cling to interior tubing, the pod holder, and other parts. These stale oils are left behind after hundreds of brewing cycles, causing an unpleasant flavor in future cups of coffee.
Vinegar cuts through these viscous oil deposits and rinses them away for better-tasting drinks that don’t have that bitter or rancid aftertaste. Your coffee will taste fresher than ever after a thorough vinegar descaling session.
3. Kills Dangerous Mold and Bacteria
The warm, moist environment inside coffee equipment like Keurigs makes the perfect breeding ground for mold, bacteria, and other microorganisms to grow. Vinegar is a natural antimicrobial that sanitizes your machine by killing up to 80% of mold strains and over 90% of bacteria species, including dangerous types like salmonella and E. coli.
By regularly descaling your Keurig with vinegar, you prevent hazardous biofilms from accumulating, keeping the components clean and safe for handling while making your morning brew.
4. Non-Toxic and Eco-Friendly
In addition to cleaning and sanitizing effectively, vinegar is a natural, non-toxic ingredient without dangerous fumes, VOCs, or chemicals compared to many store-bought descaling solutions. It’s also biodegradable and far better for the environment.
You can feel good about using this common pantry staple to clean your Keurig instead of harsh chemical cleaners filled with toxins.
What You’ll Need to Descale a Keurig Brewer
The basic supplies needed to deep clean your Keurig at home with vinegar are simple:
- Distilled white vinegar – Undiluted
- Water
- Large mug (10 oz capacity or more)
- Optional: Baking soda, soft-bristle toothbrush, paper clips
Avoid using homemade vinegar like apple cider, rice wine, and balsamic. Always opt for distilled white vinegar instead. The acidity level and versatility across machine parts make it the best suited for descaling.
Also, do not use vinegar at all if your Keurig contains aluminum parts as the acid can damage metal components. Check your user guide to see if aluminum is present in your model. For aluminum-safe descaling, purchase Keurig’s official cleaning solution.
Okay, you’ve got your supplies ready. Now let’s get descaling!
Step-By-Step Guide to Descaling a Keurig Brewer
Follow these simple steps to rinse away mineral buildup, coffee residue, mold, and other impurities lurking inside your Keurig coffee maker using the power of vinegar:
Prep the Coffee Maker
Before pouring vinegar into your machine, you need to prep your model properly:
- Unplug the power cord and allow the Keurig to fully cool if recently used to prevent cracking.
- Remove the water reservoir lid, K-cup pod holder, drip tray, drainage plate, water filter cartridge, and exit needles, and pour out any leftover water.
- Give the water reservoir a rinse, scrubbing lightly with a soft sponge to dislodge sediments if visible at the bottom.
- Wipe down other removed parts with a damp, soft cloth to clean surfaces.
Run the Descaling Vinegar Solution
Next, you’ll run undiluted vinegar through your Keurig piping system followed by rinse cycles:
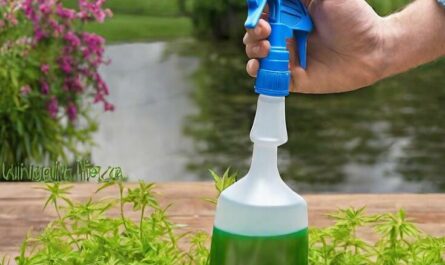
- Fill the water reservoir about halfway full with undiluted distilled white vinegar.
- Top off the tank with an equal amount of cold water to dilute the acidity to the right level. The standard mix is 50% water, 50% vinegar.
- Place a large 10 oz. mug on the drip tray plate to catch the vinegar cleaning solution as its dispensed.
- Replace all the small parts like the pod holder and water reservoir lid. Do not insert a K-cup pod.
- Turn your Keurig back on, lift the handle as if brewing coffee, and select the largest cup-size setting. Discard the mug contents after the cycle finishes.
- Repeat the brewing process without a pod on the largest size until the ADD WATER light indicates the reservoir is fully empty. This enables vinegar to run through the entire internal system to dissolve mineral scale and residue buildup.
Rinse Away Vinegar & Reassemble Brewer
With vinegar coursing through your machine, it’s imperative to rinse it away by:
- Filling and emptying the water tank 2-3 times with fresh water only. Continue performing rinse cycles on the biggest cup size until the vinegar odor completely disappears.
- Dry the reservoir, pod holder, drip tray, and other parts with a clean soft towel before reassembling the machine.
- Replace any water filters, small parts, K-cup pod holder, and drip tray.
- Your Keurig is ready to brew tasty coffee again!
Optional: Scrub Visible Buildup
If you spot leftover coffee grounds or mineral staining inside during cleaning, mix equal parts warm water and vinegar in a bowl. Use a soft-bristle toothbrush or paper clip to gently scrub the residue away taking care around needles and plastic parts. Soak smaller components in the solution if needed.
Handy Vinegar Descaling Tips & Tricks
Here are some additional pointers for getting the most thorough, safe clean using vinegar to describe your Keurig:
1. Use a Precise Vinegar-Water Ratio
Always dilute distilled white vinegar before pouring it into your Keurig’s water tank. Undiluted vinegar is too acidic and can damage components over time with repeated use.
The ideal dilution ratio is 50% vinegar & 50% cold water. For example, mix 2 cups vinegar and 2 cups water. This gives just the right acidity level to dissolve limescale buildup while protecting machine parts.
2. Descale Regularly
Over time, even small amounts of mineral-scale compounds lead to bigger coffee maker issues. Get ahead of buildup by descaling every 3-6 months depending on your Keurig’s usage frequency.
Set reminders on your calendar or phone to stay on top of scheduled cleanings. Consistency is key for preventative maintenance.
3. Inspect While You Clean
As you descale, check hoses, tubing, the pod holder, and reservoir for staining or debris buildup. Scrub away stubborn deposits using a vinegar-water solution and soft-bristle brush taking care of needles and plastic components.
4. Always Rinse Thoroughly
After descaling, continually flush your Keurig brewer with plain water on the largest cup size until ALL vinegar odor disappears. Even small amounts of vinegar residue can make coffee taste unpleasant. Don’t skip this vital last step!
5. Freshen In Between Descalings
For a quick freshening between deep cleanings, fill the water tank half full and add 2 tbsp of baking soda then top off with water. Brew as normal allowing the mixture to flow through the machine and dissolve oils and residues.
Stay diligent by incorporating these handy vinegar descaling tips into your process and maintenance will be a breeze!
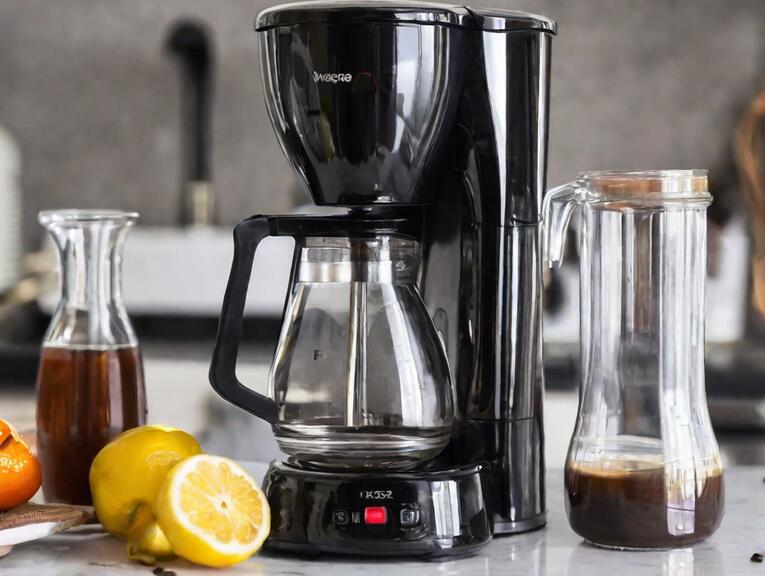
Safely Clean Other Coffee Makers with Vinegar
While these Keurig-specific instructions ensure descaling success, vinegar can be used to clean other popular coffee maker brands and models safely when following manufacturer guidelines.
Here are useful tips for cleaning non-Keurig coffee machines with vinegar:
- Refer to your instruction manual for the recommended descaling procedure, ratios, and precautions for your specific coffee maker model before using vinegar. Methods can vary across machines.
- Confirm vinegar can be used safely on all interior parts first. Avoid contact with aluminum components. Consider buying an aluminum-safe descaler if unsure.
- Adjust vinegar-to-water dilution ratios based on water reservoir size. Many drip coffee machines use a 10:1 water-to-vinegar solution.
- Only soak small removable pieces like carafes, water tanks, and portafilter baskets in diluted vinegar for 15-30 minutes max or damage can occur.
While descaling methods differ across coffee equipment, white distilled vinegar remains a reliable choice for cutting through mineral scales, oils, and residues and sanitizing interiors when directions are followed properly.
Frequently Asked Vinegar Descaling Questions
Still have some lingering questions about cleaning your Keurig with vinegar? Here are answers to some of the most common queries:
1. How long should Keurig parts soak in vinegar?
Only soak small removable pieces like K-cup holders, water reservoir lids, and drip trays in a 50/50 vinegar-water solution for 15-30 minutes max. Any longer can damage components.
2. What’s the difference between cleaning vinegar and regular vinegar?
Cleaning vinegar has a higher acetic acid content around 6-7% compared to distilled white vinegar’s 5%. It’s too strong for coffee maker descaling. Opt for regular distilled white household vinegar only.
3. Is descaling with vinegar safe for all Keurig brewer models?
Yes, all Keurig coffee makers can be descaled with diluted distilled white vinegar safely aside from a select few commercial models. Check manuals first before using vinegar.
4. How do I know when vinegar descaling is complete?
Descaling is finished when the ADD WATER light turns on indicating the reservoir is empty. Keep rinsing with fresh water only until ALL vinegar smell disappears completely – this signals the end.
The Takeaway: Keep Keurigs Sparkling Clean with Vinegar
Regularly descaling your Keurig coffee machine by running diluted distilled white vinegar through the interior tubing dissolves rock-hard mineral buildup, eliminates residues, kills mold and bacteria, deodorizes, and decalcifies the entire system for improved brewing and longevity.
Be sure always to follow the proper safety steps like diluting vinegar, avoiding contact with aluminum components, rinsing thoroughly afterward, and descaling every 3-6 months.